Last Updated on April 16, 2023
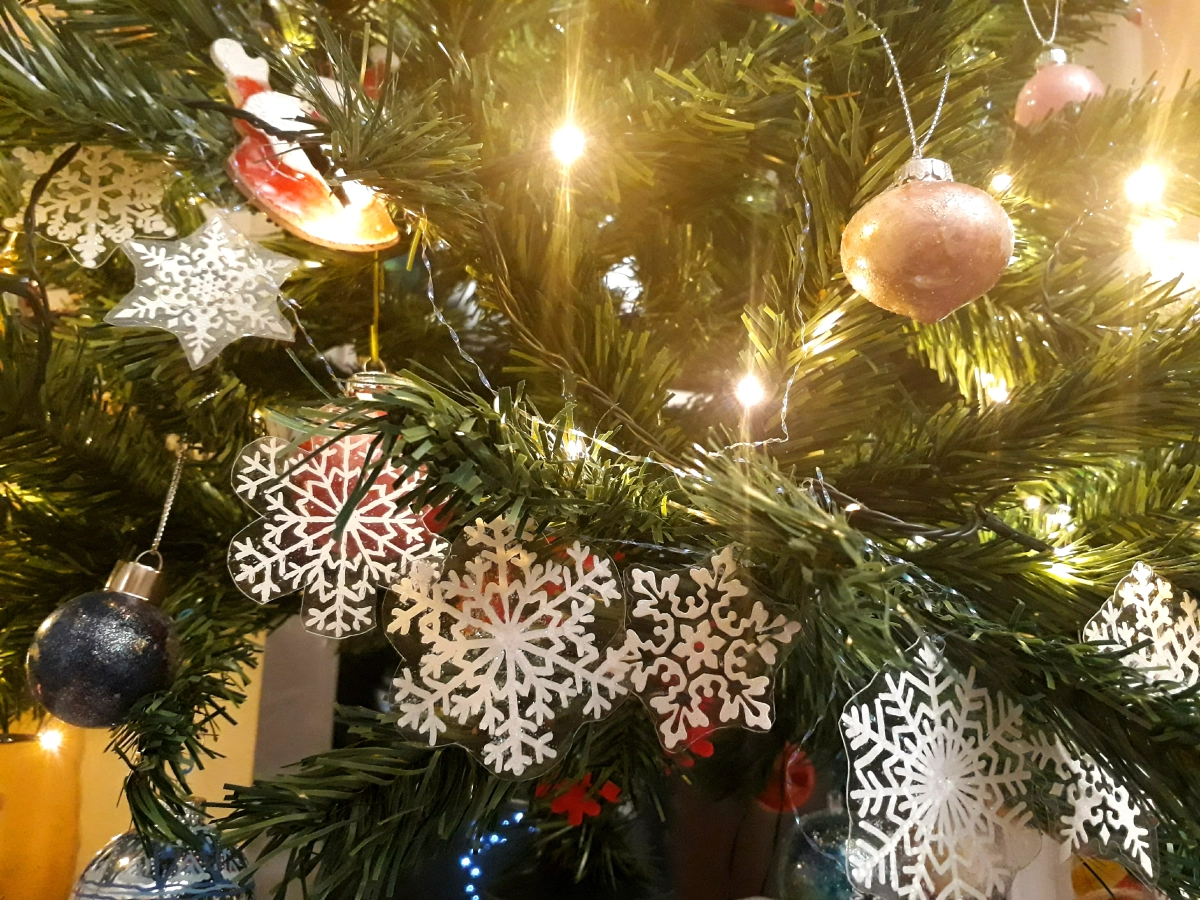
Expat families often live for several years on suitcases because “the future is uncertain”. And what kind of Christmas decorations are there if the number of things needs to be minimized. However, you can make a lot out of plain paper, scattered little toys, and crafts with a basic set of colored paper, paint, glue, varnish, and glitter, and a day off.
Our decorations started with a mini Christmas tree and paper cutouts. Then came wooden stars and Styrofoam balls, decorated cheap balls. For most deco, what you have at home and what you can find in Müller (or a large hardware or garden center) and a Tedi store is enough.
Chestnuts in Germany (Esskastanien, Maronen)
German festivals in December – January
Christmas cookies in Germany
German wine classification system and wine regions
What is Wichteln
Bascetta star tutorial. 1. Modules
Bascetta star instructions. 2. Assemble
One of the first Christmas tree – everything except the snowman is homemade.

In this topic I will tell (remember – sure, you know some tricks) about the simplest options. In this part without Christmas tree balls. Naturally, you can find a lot more interesting things on the Internet, but many of them require more money, time or talent.
Don’t forget the topics about how they make Christmas cookies in Germany (basic recipes) and how to make a Bascetta star (for this you only need colored paper and a cheap 2 euro LED garland).
Important! Glitter tends to end up everywhere after work. If someone in your family reacts nervously to this, work only in one room and take off your slippers and work clothes when you leave it.
You will need
Basic set for all crafts
– a set of sequins (Muller or any creative department) – 5-7 euros
– sharp scissors
– yarn for hanging or paper clip
– liquid glue for crafts, such as strong Folia Universal Bastelkleber (Müller or any creative department) – 3.50 euros
For paper snowflakes and deco
– blotters from notebooks or white baking paper
– colored paper (cheaper than all – IKEA, Aldi, Lidl)
– for blotters liquid colors: liquid watercolor or ink, or edible paints, or egg coloring kits
– a transparent foil. The transparent foil can be for example part of the toy carton.
– printer
– acrylic markers (white, gold, silver and others on request) (any creative department, Aldi, Lidl) – from 2.50 euros
– stickers (Tedi, Lidl, Aldi) – 2-4 euros
– salty dough
– varnish (hairspray is also suitable) or ArtPotch – 5.50 euros
– additionally primer (Gecco) – from 2.50 per tube
– additionally for convenience – self-adhesive paper. If you have children, this paper often finds its use (labels on boxes, labels on pencils and notebooks, etc.), so its purchase will not be superfluous (approx. 15 euros a pack)
Paper stars
With the simplest folding of paper squares, you can get wonderful stars that will look better than any snowflakes on your window. Initially, it is proposed to make them from transparent paper, but for lack of it, it is quite possible to get by with ordinary colored paper and oil.
Almost all stars require square sheets of paper. 7 cm (smaller star) or 9.5 cm will be especially convenient if you have A4 sheets.
For two stars, rectangles 1:2 are needed (for example, 14 to 7 cm).
The process looks like this:
fold eight rays from eight squares / rectangles
glue the rays
oil the paper if you have ordinary not-transparent paper
hang on the window with tape
Stars from 8 squares
The most primitive option in 5 minutes.
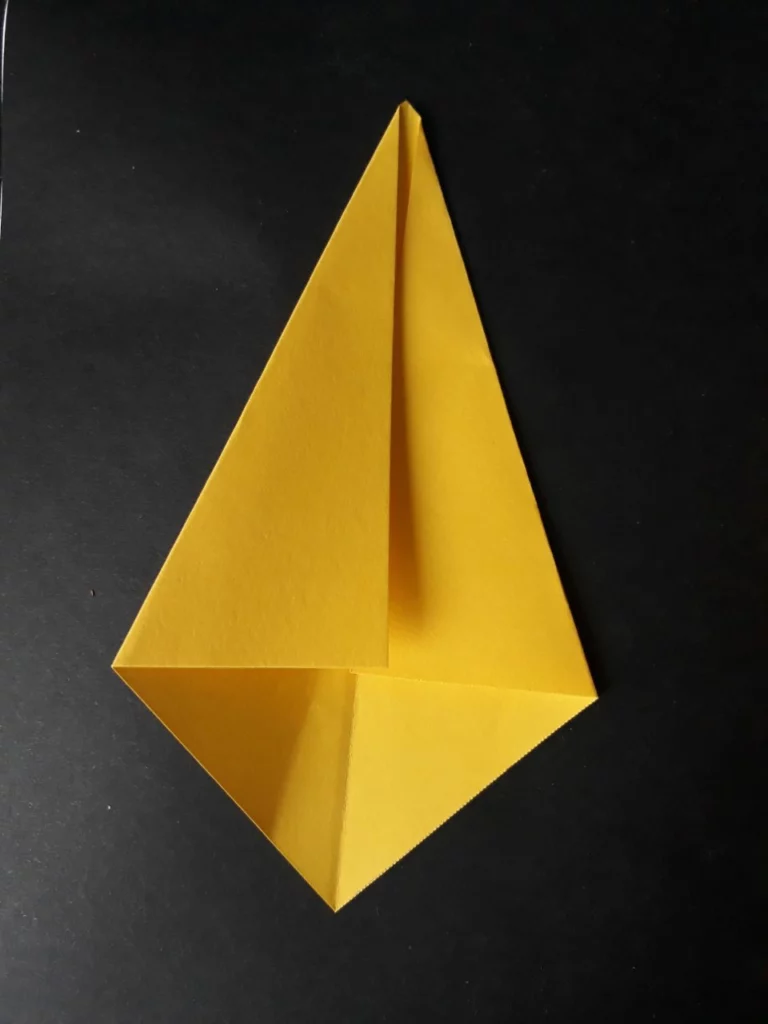
Take a square, fold it diagonally to make a line. Turn back.
Bend the two upper corners to the line. The ray is ready.
Make seven more.
Glue, applying the second ray to the fold line.

Now you need to make the star transparent with oil.


Two next stars are made almost the same, but as a result they look completely different.
- Make a diagonal fold line.
- Bend two opposite corners to it.
- Bend the upper corners once more, again to the line.
- Let’s do seven more. Glue.


Second option:
- repeat steps 1-3.
- make an additional parallel fold line. It is more convenient to do it after step 2.
- to the additional line bend the corners from below.


Stars from rectangles
And again, the second star has another step that changes everything.
- Make a fold line. This time not diagonal, but along the long middle.
- Bend the top and bottom corners to the line.
- Bend the upper corners once more.
- Seven more rays. Glue.


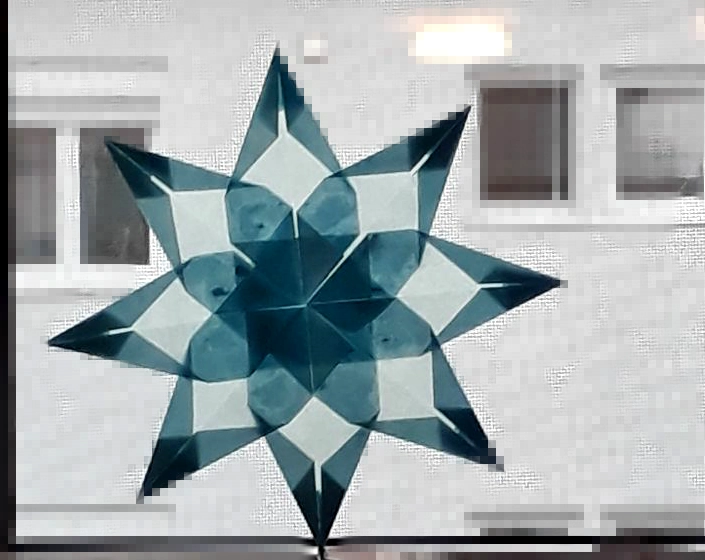
Repeat steps 1-3 and fold the top corners one more time.

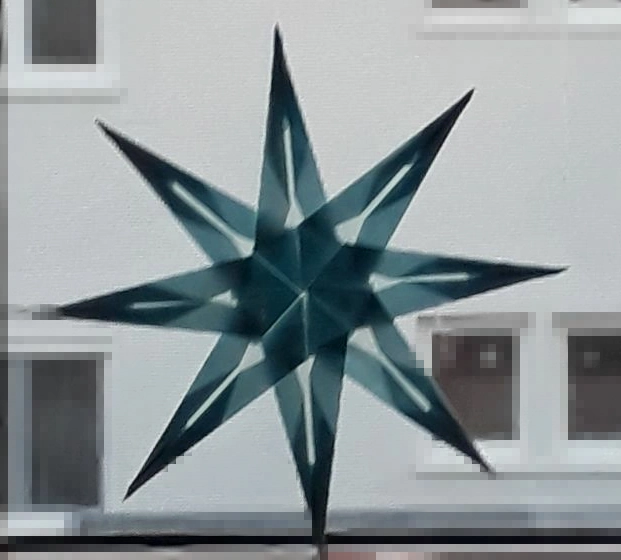
There are at least four more ways to add similar stars. These were the simplest.
Snowflakes made from baking paper or blotting paper
Everyone made snowflakes in childhood, but they came out somehow thick and clumsy. Colored paper is too thick for them. In addition, six-ray snowflakes look much better than those eight-ray snowflakes from childhood.
So materials:
– white baking paper
– or blotter
– since the blotter from exercise-books is usually an unpleasant pink color, it must be painted with liquid paints (liquid watercolor, egg paint, food paint, ink). Acrylic, gouache or hard watercolor will not work.
– templates from the Internet (we are looking for “paper snowflake patterns”)
– sharp scissors
Six-ray snowflakes are folded like this:
– fold the square sheet into a triangle
– fold the triangle in half
– put the resulting triangle into a cornet: mentally divide it into three parts and put the side parts on top of each other.
– cut off the top so that it is even

The second and third steps can be interchanged.
The Internet allows you to find templates of any complexity. You can attach snowflakes with soapy water or toothpaste.
Snowflake made of white baking paper

Snowflake from a blotter painted with liquid watercolor

Simple Christmas paper decorations
Materials:
– colored paper
– for especially busy people who do not have time: self-adhesive paper and ready-made pictures from the Internet
– metal and white markers – additionally metallic and neon paints from Ikea (make volumetric dots) – glue and glitter
- Print templates, New Year’s pictures from the Internet or draw them by hand. The most obvious and simple forms: balls, Christmas tree, rhombus-icicle, snowflake.
- Glue paper onto cardboard.
- Paint with available paints, metal and white markers. You can color for example with lines and dots, snowflakes, spirals and curlicues.
- Mix varnish (ArtPotch, glue) with glitter and spread generously
- Applying Christmas stickers.
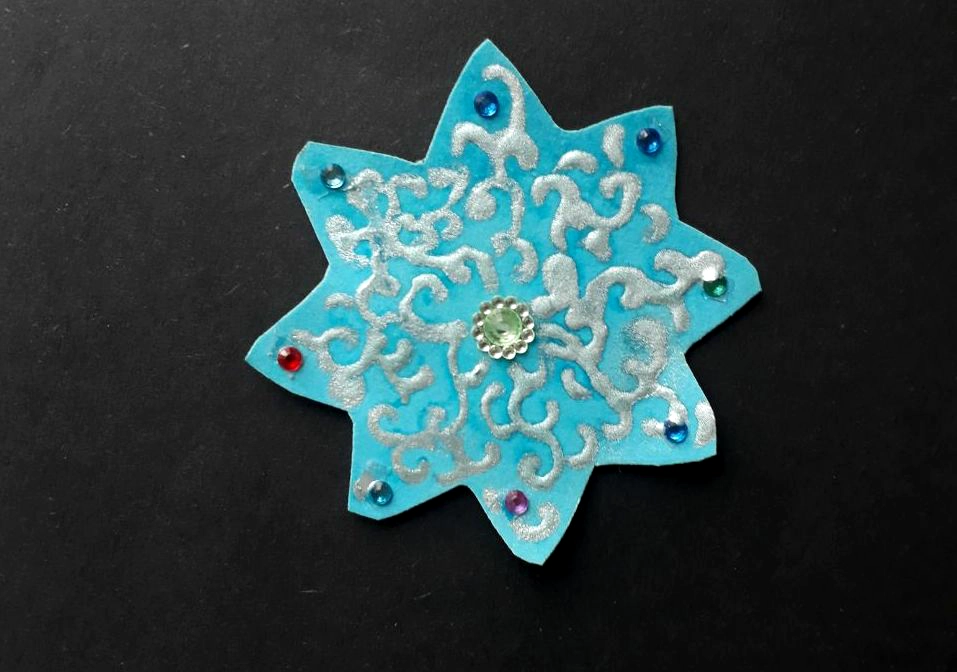

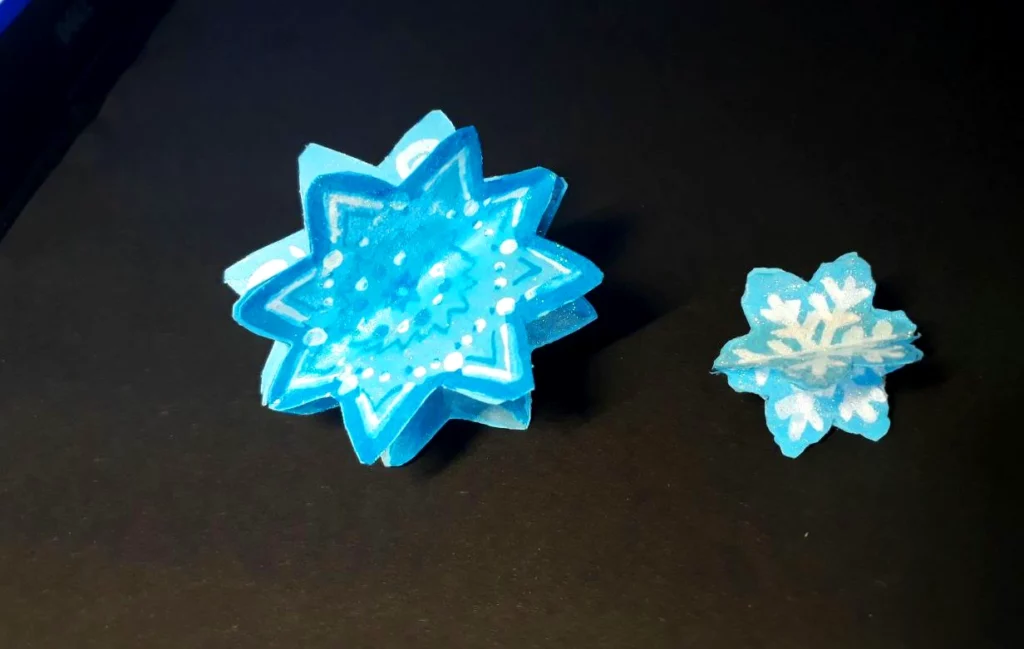
If the sides of the form are symmetrical, then you can glue several identical forms together – you get a 3D toy. The number of forms to be glued can be any: if the drawing turned out to be successful, then three or four forms can be glued together. And the lack of talent can be hidden by generously smearing the forms with sparkles and gluing six or seven forms together.
Snowflakes on film
Material:
– transparent plastic packing. It should be quite dense, not wrinkled. Often found in toy packaging.
– white marker
– snowflake templates
We type in Google “draw snowflakes” and get a lot of pictures. Print and trace or copy while looking at the screen.
I will say right away that white markers are not that thin, and the hand is usually not that steady, so do not get carried away with beauty and complexity. Simple snowflakes look no worse than highly artistic ones.
Snowflakes can be tied into a garland or hung separately: on windows, on a Christmas tree and in any other place.
Those three in the center that look especially picturesque are the stickers.


Decoration made from improvised material
Materials:
– small toys
– glue and glitter
– it’s nice to have also a primer (Gesso)
– acrylic paints / markers
– salt dough or mass for modeling
– dough cutters
– toothpicks
– ice cream sticks
– stickers
– wooden clothespins
We make salty dough (200 g flour, 100 g salt, 250 ml water, a spoonful of butter). Or we take a modeling mass (for example, Fimo Air Basic). The mass should look in the pictures in the product description as if inflated and smooth. Sculpting will not work out of it, and it is better suited for carving than a mass similar to clay (no need to polish).
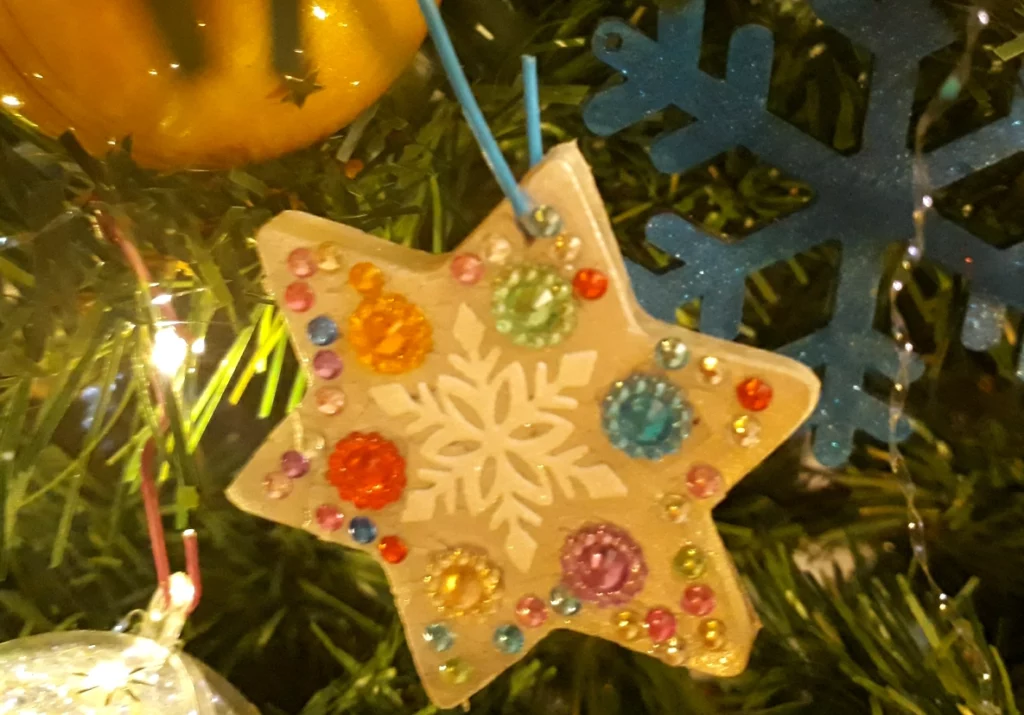
Roll out, cut out all the same stars, snowflakes, balls, Christmas trees. Let dry for 1-2 days.
Coloring, sticking stickers. You can paint without a primer, but with a primer, the paint lays down better.

Folgen Sie mir
Old small toys are smeared with glitter glue and glued to a clothespin, which we also paint. I do not recommend taking toys made of soft rubber (like jelly) – paint does not lay on them at all.

DIY silhouette lantern for Saint Martin feast
Bascetta star tutorial. 1. Modules
Bascetta star instructions. 2. Assemble
German school cone (Schultüte). How to make
Do you enjoy the site without cookies and maybe without ads? This means that I work for you at my own expense.
Perhaps you would like to support my work here.
Or Cookie settings change: round sign bottom left

