

Last Updated on October 9, 2023
There are several ways to fold a star. I made Bascetta star tutorial, because it’s one of the most beautiful variations that is pretty simple, including the luminous version.
Bascetta star instructions. 2. Assemble
Feasts in Germany. December – January
Simple Christmas decoration ideas
Saint Martin Feast. Songs
DIY Lanterns for Saint Martin feast
Office supplies and all for school
Age. The first phase of folding the modules – from around 8 years old, the second phase – only for older children with good skills or adults.
Time: for beginners approx. 3 hours.
Materials:
– 30 square pieces of paper, preferably quite thick and transparent, especially if you want to add the lights (in Aldi, sets for two stars with good paper are sold).
But there is a trick that makes even simple paper glow.
– for the lighting we buy a short garland with batteries in a One-euro shop or from Tedi, Nanu, etc.
Bascetta star tutorial
First we fold 30 separate modules from our sheets according to a simple scheme. If the paper has different colour on different sides, then you need to think about how you want your star to look. Because the color of the star tips matches the color on the underside of the leaf. But you get more visible color from the front of the sheet.
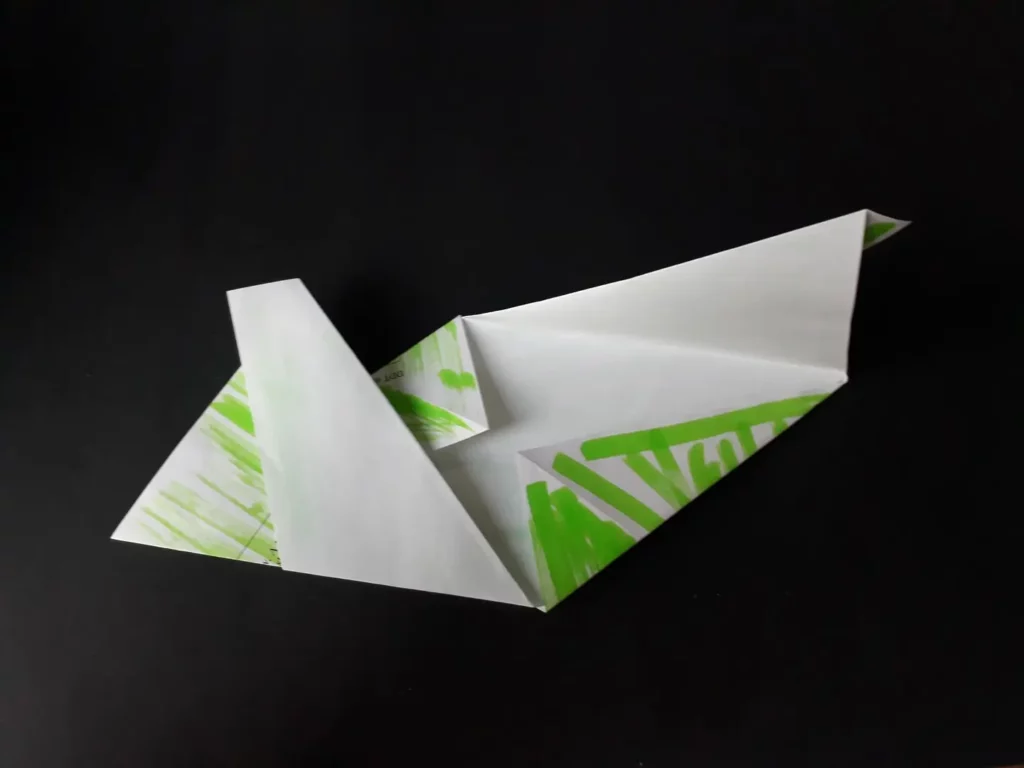
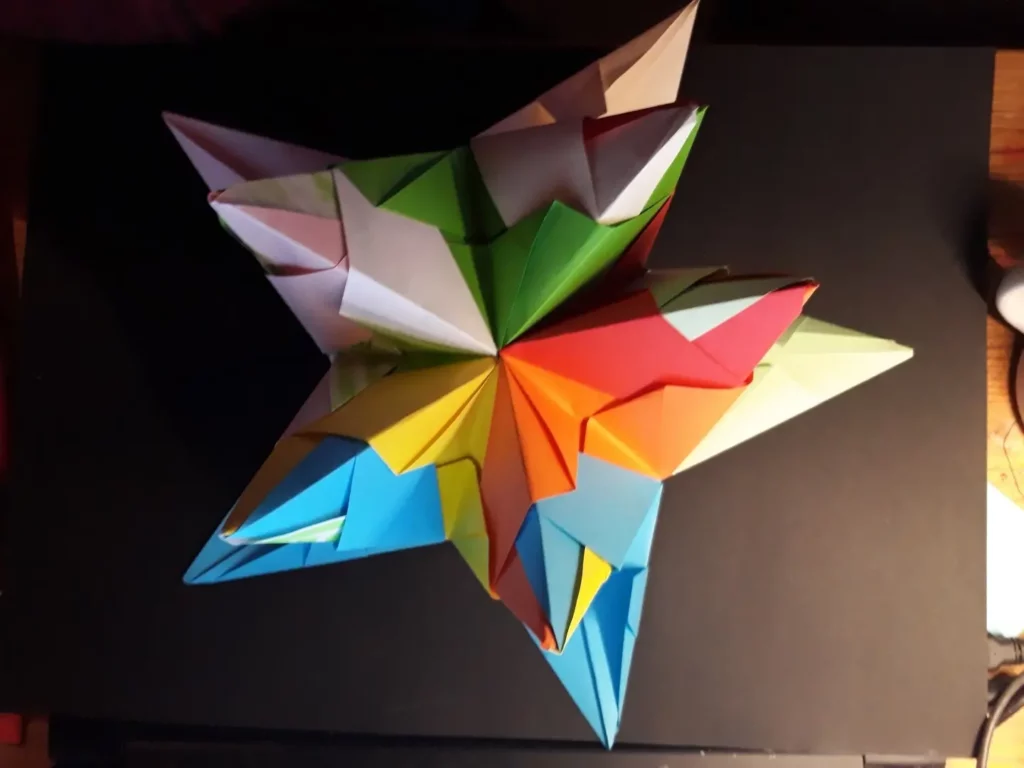
The finished modules are in the shape of a rhombus, half of which is a third of a point of the star and the other half is a third of the other point. There will be a total of 20 points.
First phase – folding the modules
1. Fold the square in half. Bend two opposite corners to the fold line.

2. Turn the sheet over. Bend the already folded corner again to the fold line.

3. Turn the sheet over. Bend two corners along the fold line (yellow)
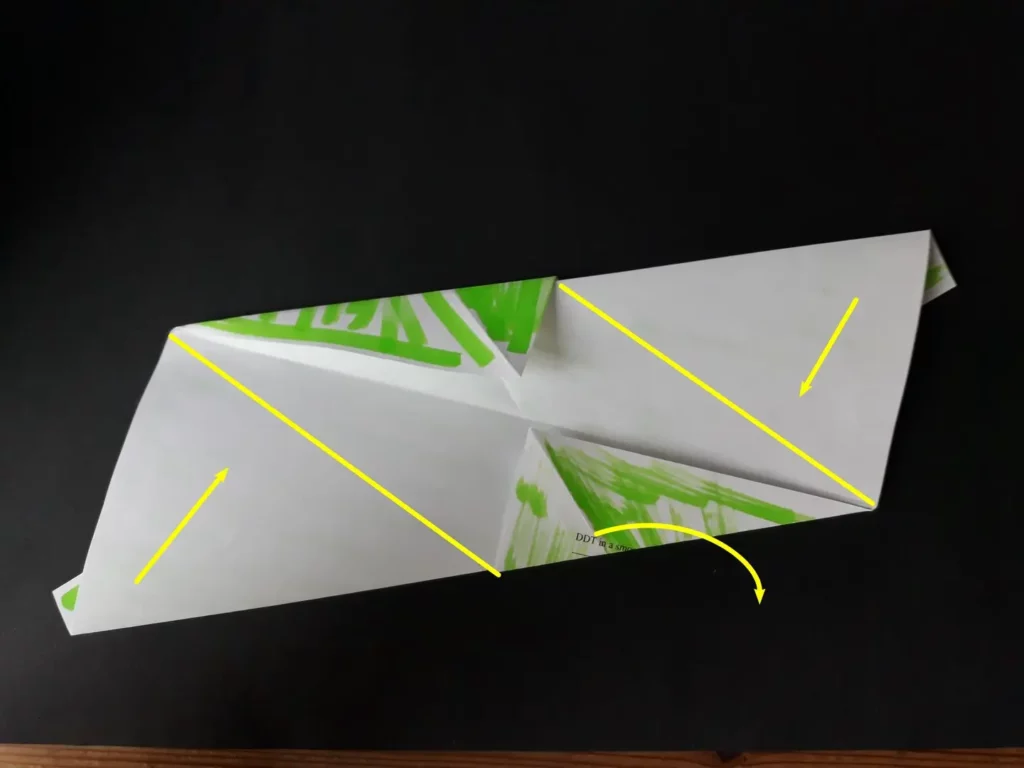
4. Turn the sheet over. Fold the remaining piece and fold the rhombus in half.

You should make 30 triangles like this. Note what color was below – and what result we get further.
Second phase – assemble
Further, the “wing” of one module is turned away and inserted into the side “pocket” of the other module, so that two sides of the triangular pyramid are obtained.
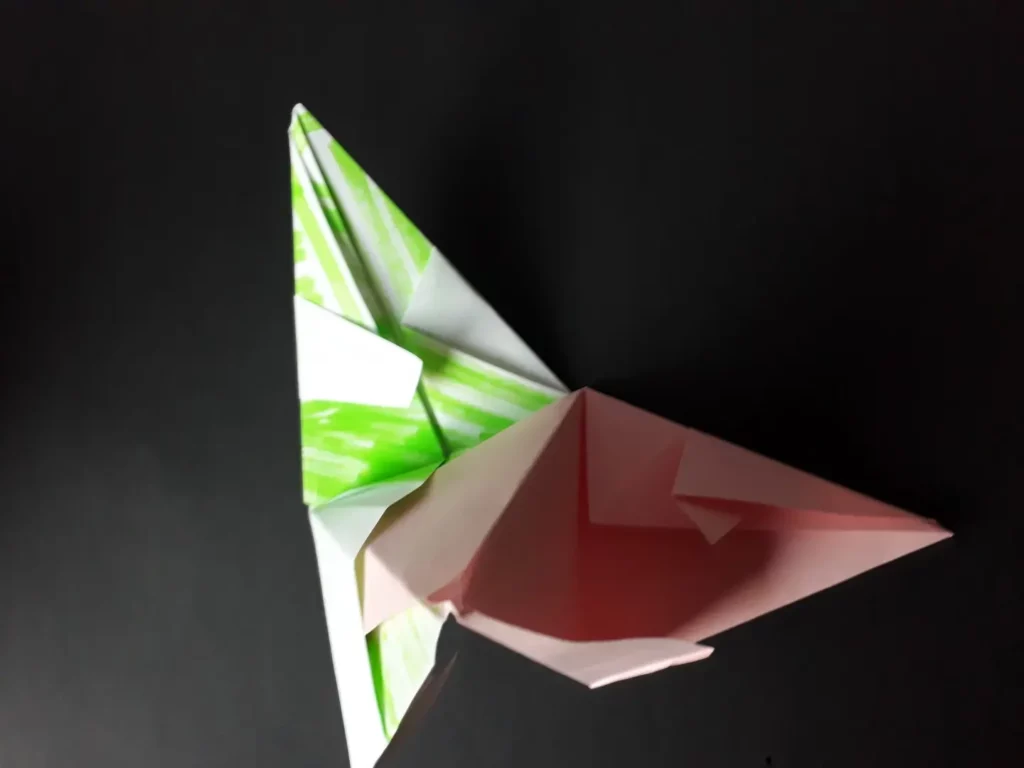
Third module is added, which is always difficult.
Again, more clearly. The smaller part of the wing goes into the pocket of the second, larger part of the other wing.
The third module is more difficult because you first have to plug the blue module into the yellow and then the white module into the blue module.


To make it easier, you should grab all three modules to form a triangle with one hand and insert the third wing with the other hand.
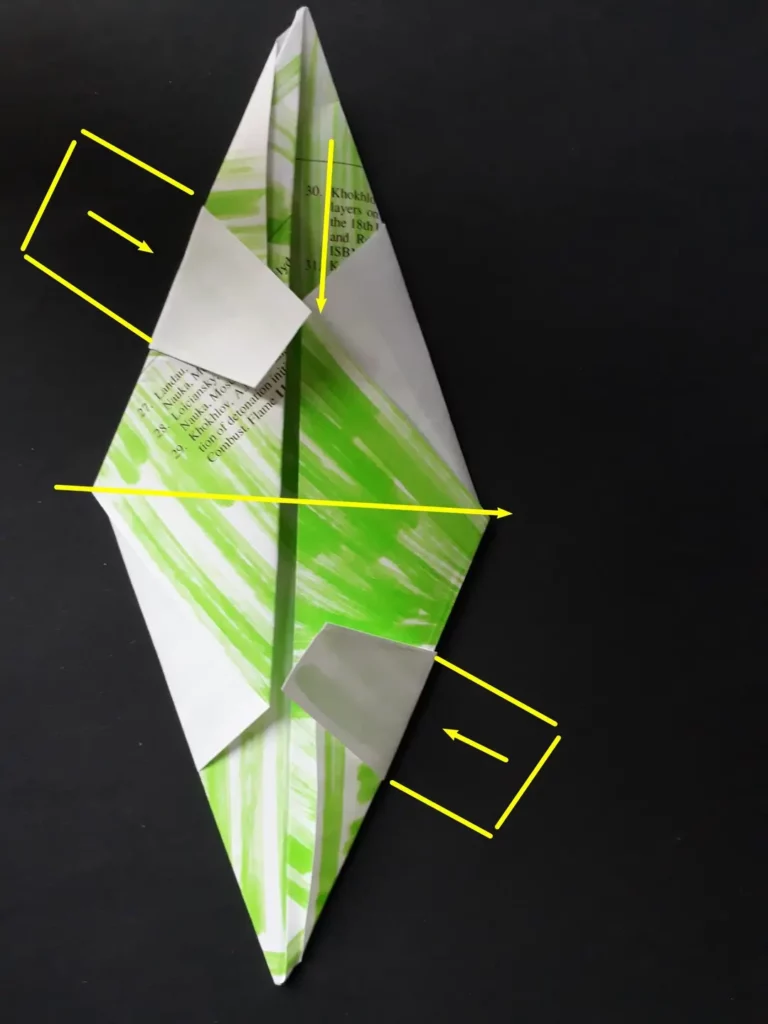
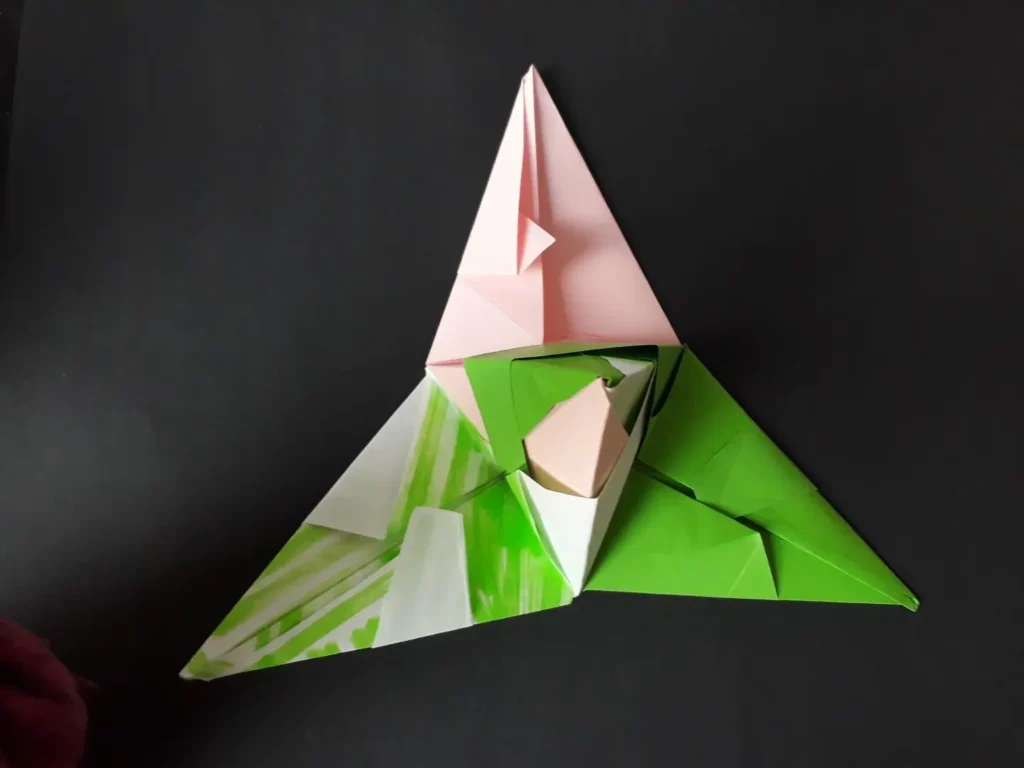
So, I used 3 modules for one point. Then I built the second half of my two-tone module with the help of two more modules to form a second point. You can see that there is a lot more white than green. Therefore: which color was at the bottom at the beginning – it is more hidden in the end.
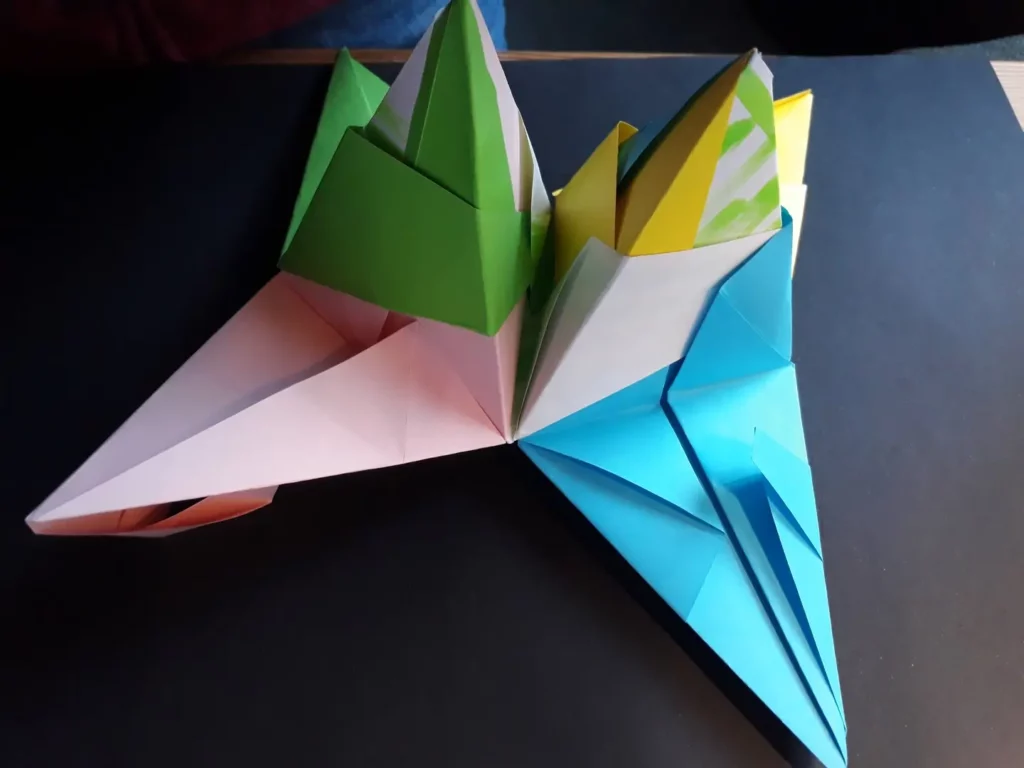
Let’s continue like this: we leave a half of the one module free (e.g. always on the right), a half of the second modules we assemble two other modules. Until we get a circle of 5 points. We’ll make the last point out of two old module halves and just one new module.
Here I have 4 points and I am building a fifth one from old orange and yellow modules and a new blue module.
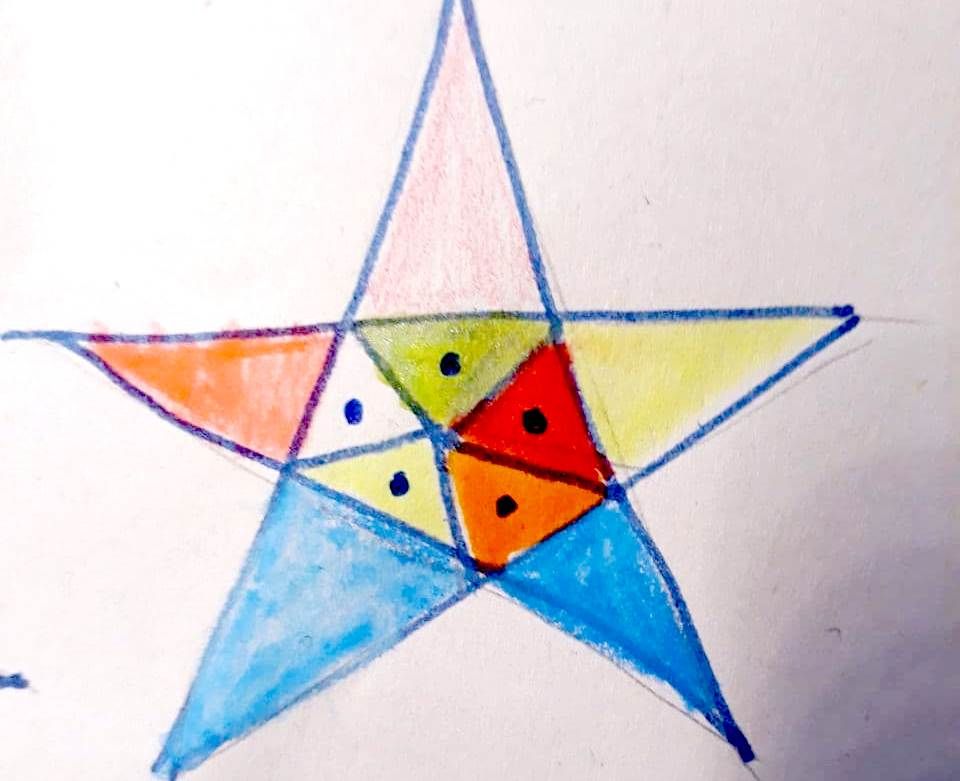
Schematic. The triangles with the dot are points. Without dot – half of module.
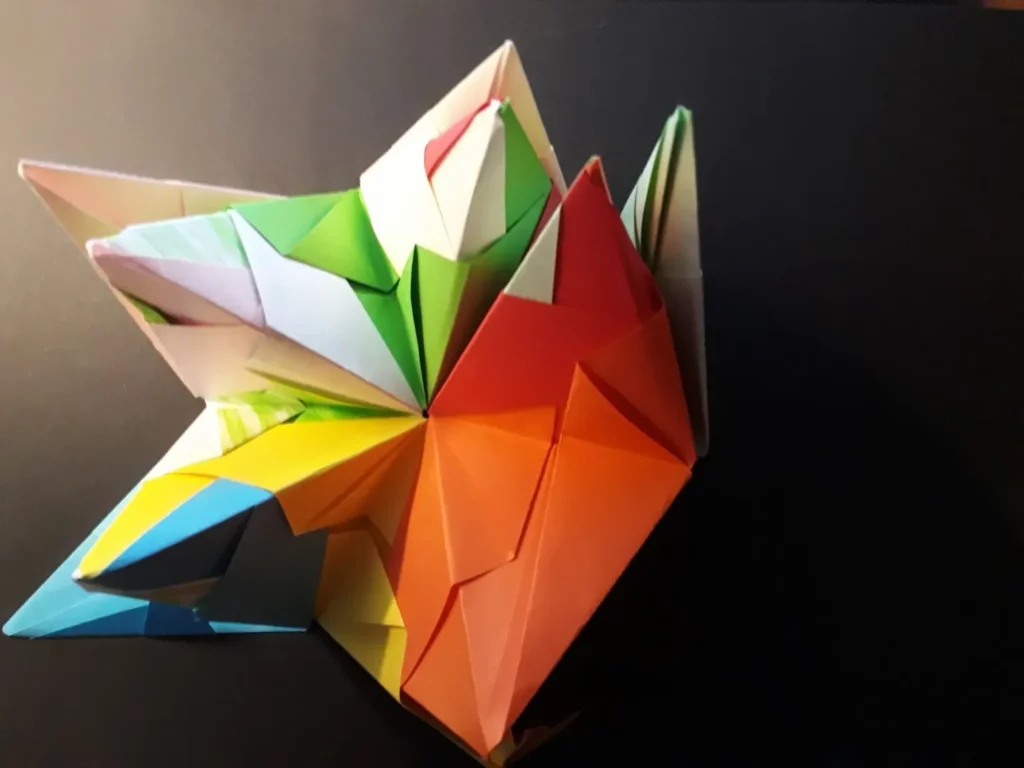
Subtotal: we have 5 points and 5 halves of modules. 10 modules were used.
left the module halves free in the photo. But so that the points don’t fall apart, pin the halves up.
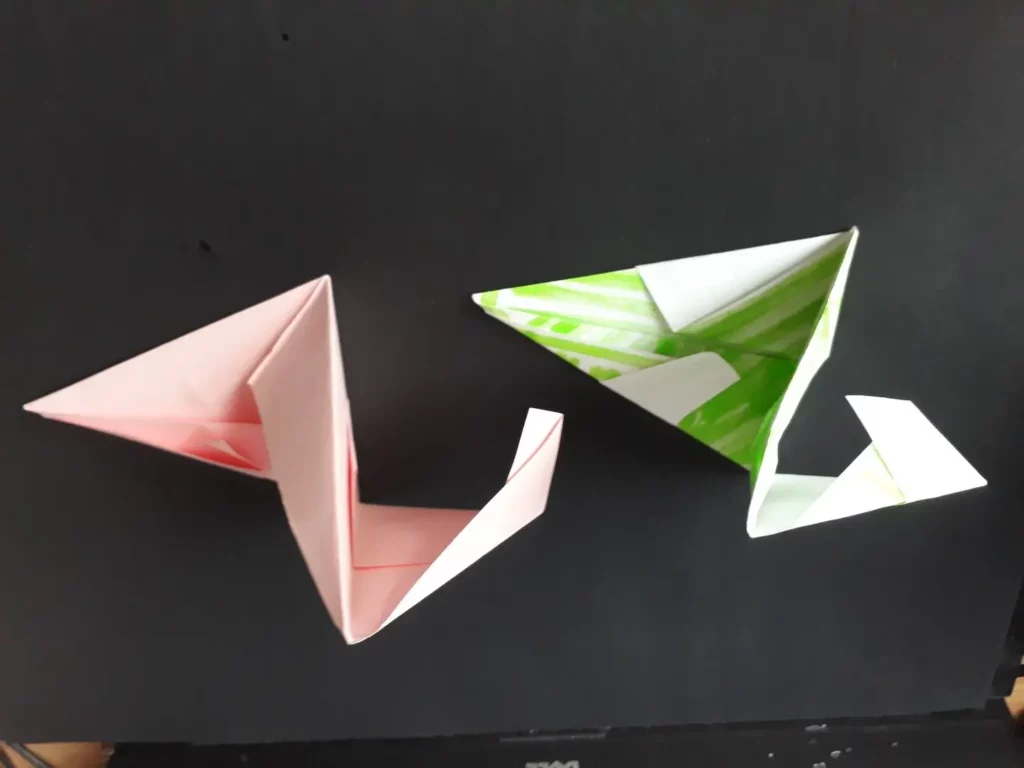
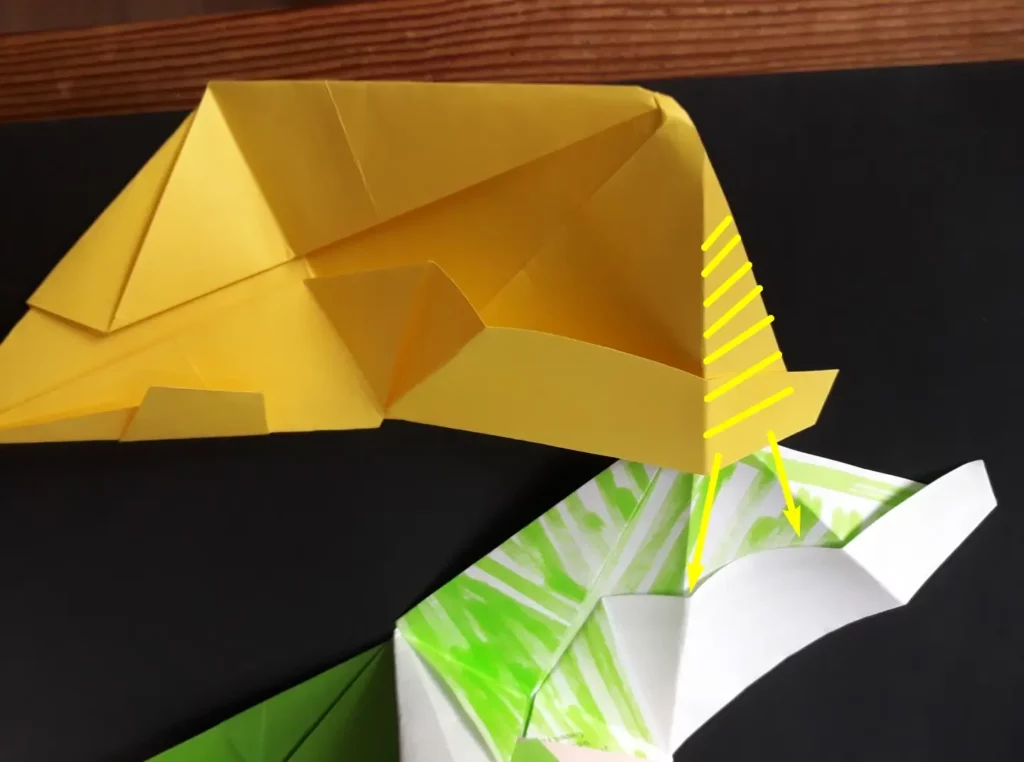
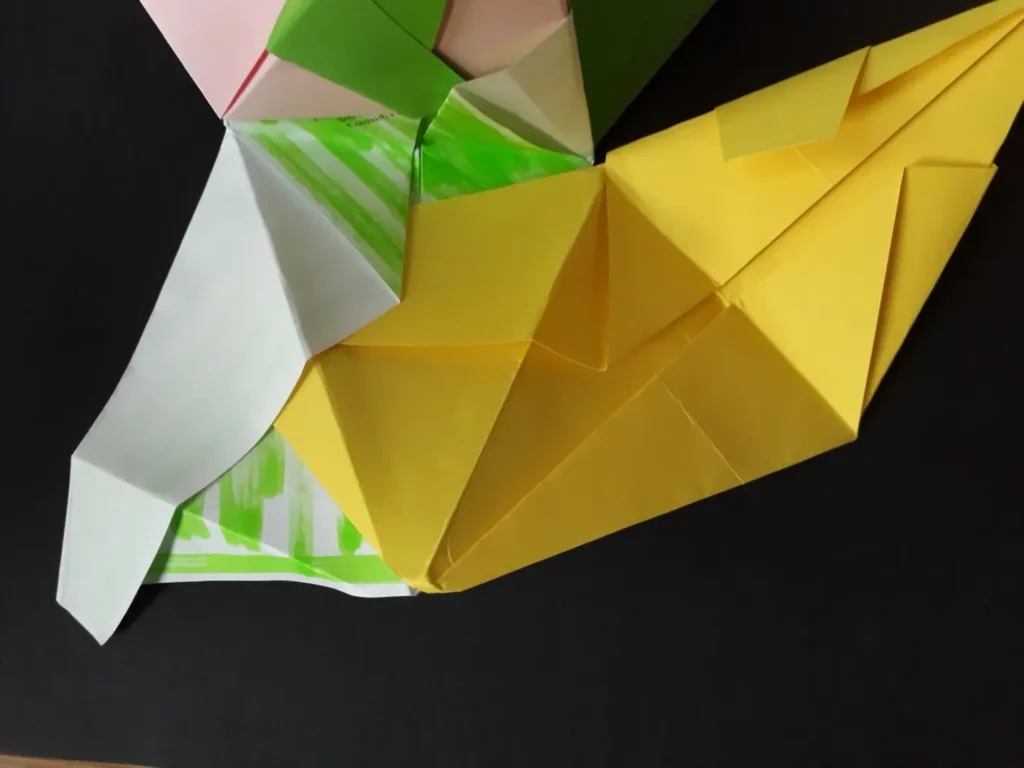
How to assemble further – read here.
Do you enjoy the site without cookies and maybe without ads? This means that I work for you at my own expense.
Perhaps you would like to support my work here.
Or Cookie settings change: round sign bottom left