Last Updated on October 9, 2023
In my opinion, self-made German school cone look better than purchased ones. But still, you need to spend reasonable time and reasonable money on creating a cone. Otherwise, just buy and not rack your brains. In the last week before the Einschulung, ready-made Schultüte are very inexpensive.
Schultüte and what to put there were described in the first part – German school cone tradition
DIY lanterns for Saint Martin feast. 5. Silhouettes
Bascetta. 2. Assemble
Bascetta. 1. Modules
Simple Christmas decoration ideas
*This post has Affiliate Links. If you buy something, I receive small money. You don’t pay for this and have no disadvantage.
How to make a cone. Basic principles
A quick guide on how to make a cone. Below is a detailed description of how I made mine.
1. You take a large sheet of thick colored paper or ready-made cone. For example, you buy it in Müller, where you can choose very beautiful large sheets. Or look at ready-made cone at Amazon* (Pay attention on the size – of cone and of your child!) If you bought a ready-made cone, go to p.4
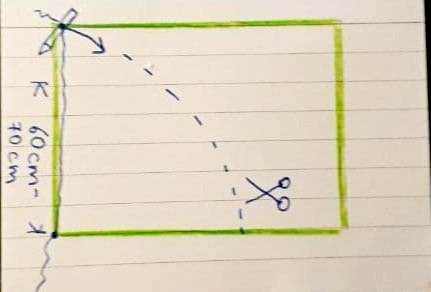
2. You tie a thread of the desired length to the pencil. School cone are normally from 60 cm bis 70 cm (it’s more than enough), but some do 80 cm.
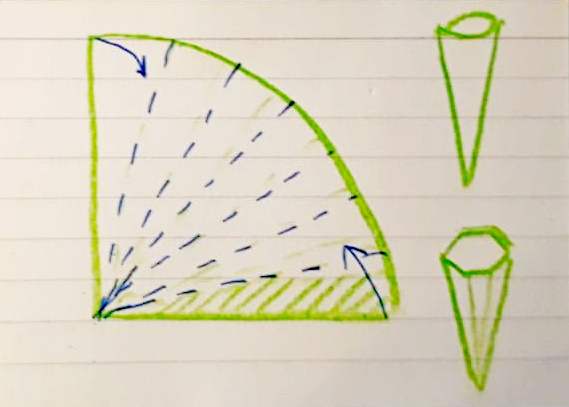
You hold one end of the thread at the corner of the paper, draw a quarter circle with a pencil. The cone can be round, or it can be six-sided. For six-sided one you divide it into 7 parts – one (it may be smaller) will go for gluing).
3. Next, glue it into a cone.
4. You strengthen the sharp end with an additional piece of paper – at the same time it will serve as decoration (grass for a pony, sea for a dolphin, etc.). Special ends, for example made of wood, are also sold for strengthening.

5. Glue a strip 2-3 centimeters wide with glue along the inner upper edge of the cone and glue tissue paper to it (rectangular piece). Then you tie this paper with a ribbon (when the cone is full). Or yo attach a piece of beautiful fabric with a stapler – soft felt, for example.
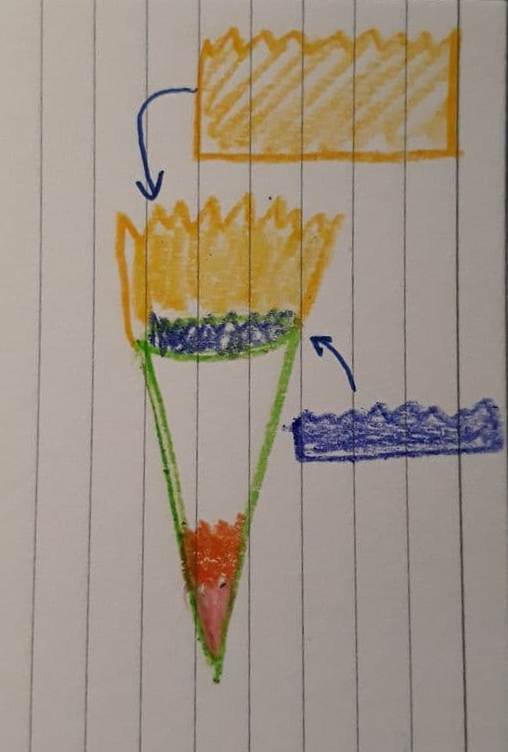
6. Decorate the cone at the request of the child. With a glue gun, people sometimes even glue toys (cars, barbies, shells, etc.) and Christmas tree illumination! The name of the child is usually depicted at the top of the cone.
7. Fill and tie.
How I made my first German school cone
You will need:
- Schultüte from corrugated cardboar is the most common option and looks better than smooth paper. Blanco cone is sold separately, without any deco (Wellpappe* or Rohling Schultüte*). A cone size of 60-65 cm is enough. In finished form, it will still be even larger.
- corrugated paper of at least two colors (Krepppapier*). One is 50 x 100 cm, the other can be 30 x 100 cm.
- cardboard of different colors
- ribbons (Schleife*) or pipe cleaner (Chenilledracht*)
- a nozzle on the tip so that the cone can be placed on the floor or the ground, and the end does not leak, does not fall apart (and the toys do not all fall out) (Spitze Schultüte*). I bought it in Müller for a 70 cm round bag, there was no hexagonal one. It costed around 2 euros und fit well.
From the household
- scotch tape big and small,
- glue gun and about 3 sticks of glue to it,
- PVA glue (Holzleim*, I bought myself after a few small Ponal’s that quickly disappeared, 1-liter Creall Hobby Glue),
- glue brushes
- optional self-adhesive film for books (Bucheinbandfolie, selbstklebend*)
- optional glitterglue* and other decoration accessories
Process
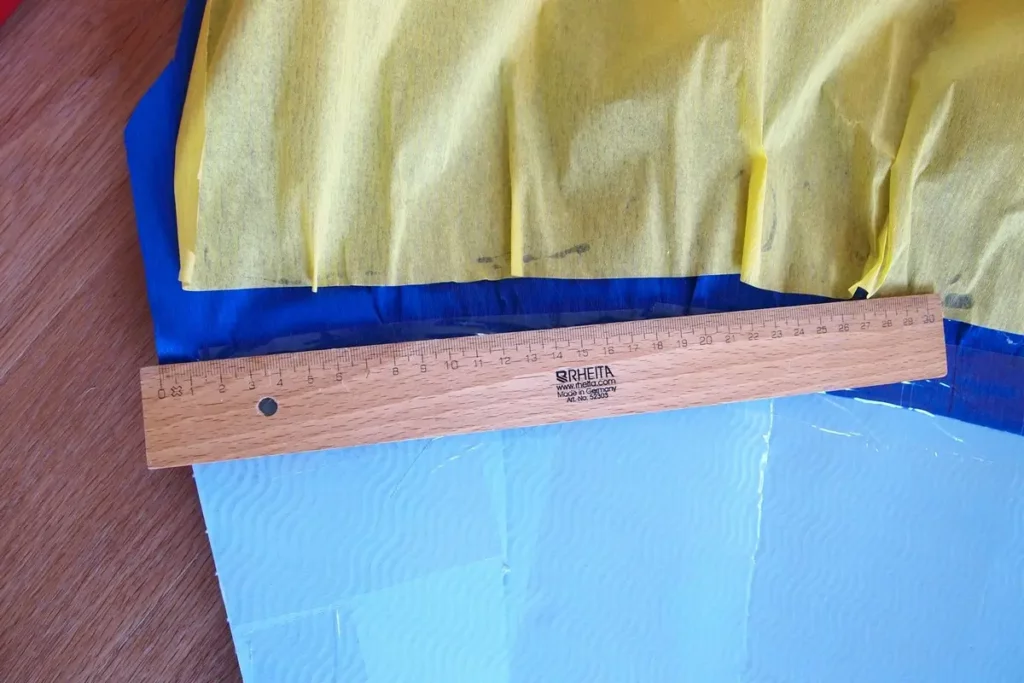
1. Take an ready-made cone or make it as in the guide above (point 2). For those who cut themselves, I put a ruler on the photo. My cone is hexagonal, which means that I will divide the sector into 7 parts. Cone length 65 cm.
2. Tape the inside, especially the folds, with tape or film for books up. This step is optional, but, given the possible bad weather and the cone falls, it is desirable.
3. Cut out two strips from corrugated paper – one 20 x 90 (blue), the second 50 x 100 (yellow). I cut the first in a zigzag, the second I leave as it is.
Instead of a zigzag, thin ribbons are also made or frills are made from several pieces of corrugated paper of different colors, glued on top of each other and cut in a semicircle.
Using a glue gun, glue the first, then the second strip of paper to the edge of the cone from the inside, leaving the seventh part free. Strengthen with scotch tape.
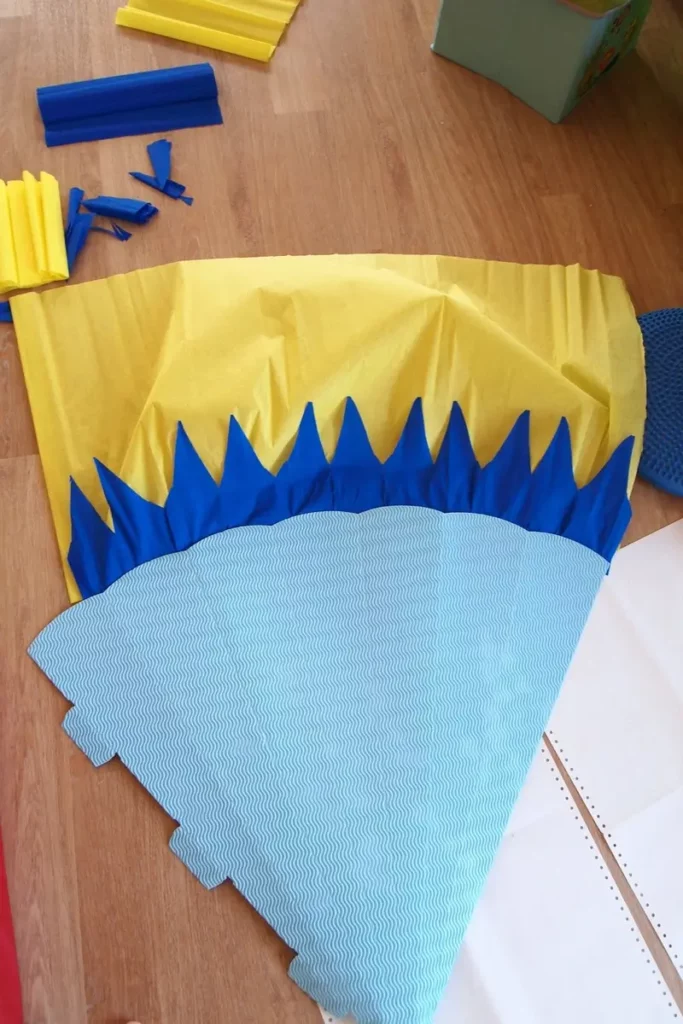
4. Collect and glue the cone with a glue gun. Inside glue the junction with scotch tape. You can make a small false bottom, so that toys don’t fall through to the bottom and don’t tear our school cone.

Lower part of the cone
5. Cut out the lower part from the cardboard for the cone.
There are two or three such lower parts. This further strengthens the cone and makes it more beautiful. I planted the lower parts with PVA glue, since the glue from the glue gun dries too quickly and I don’t have time to put the piece of paper properly.
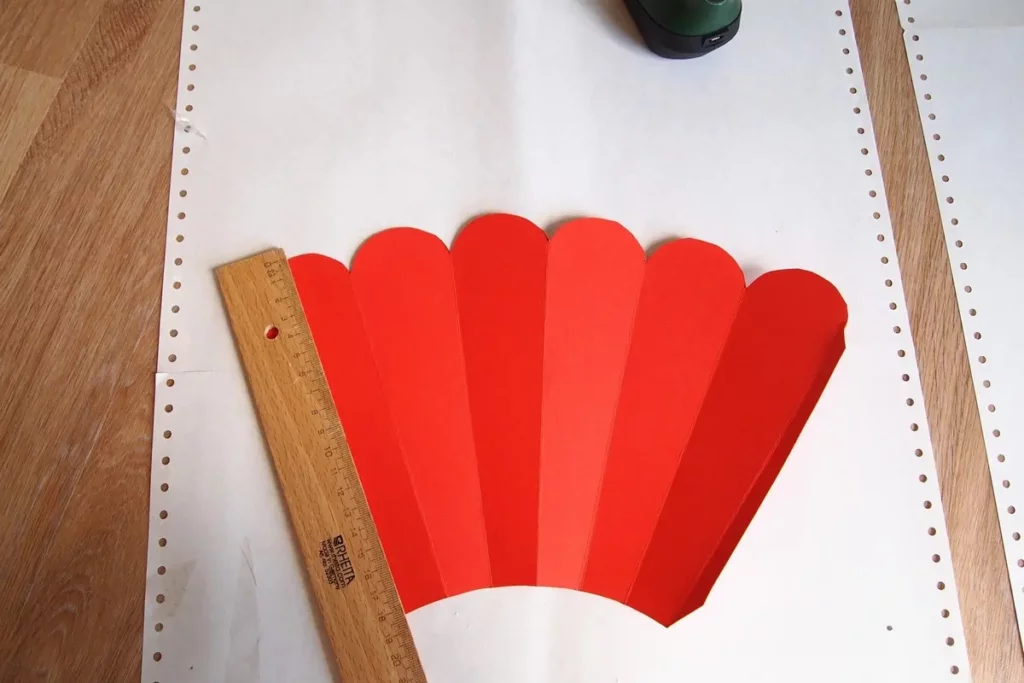
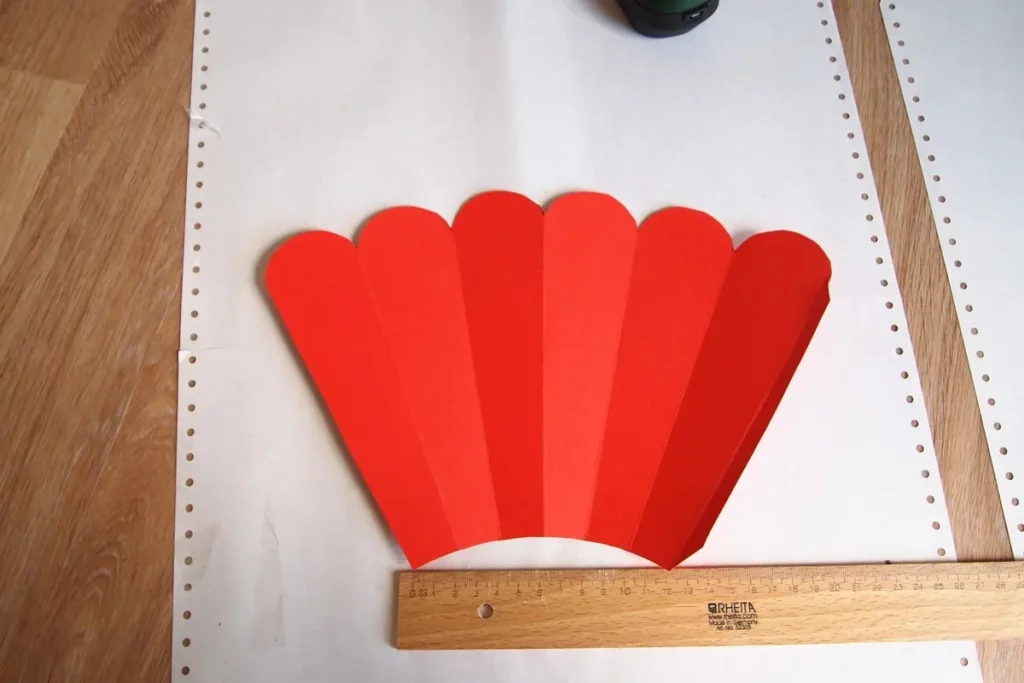
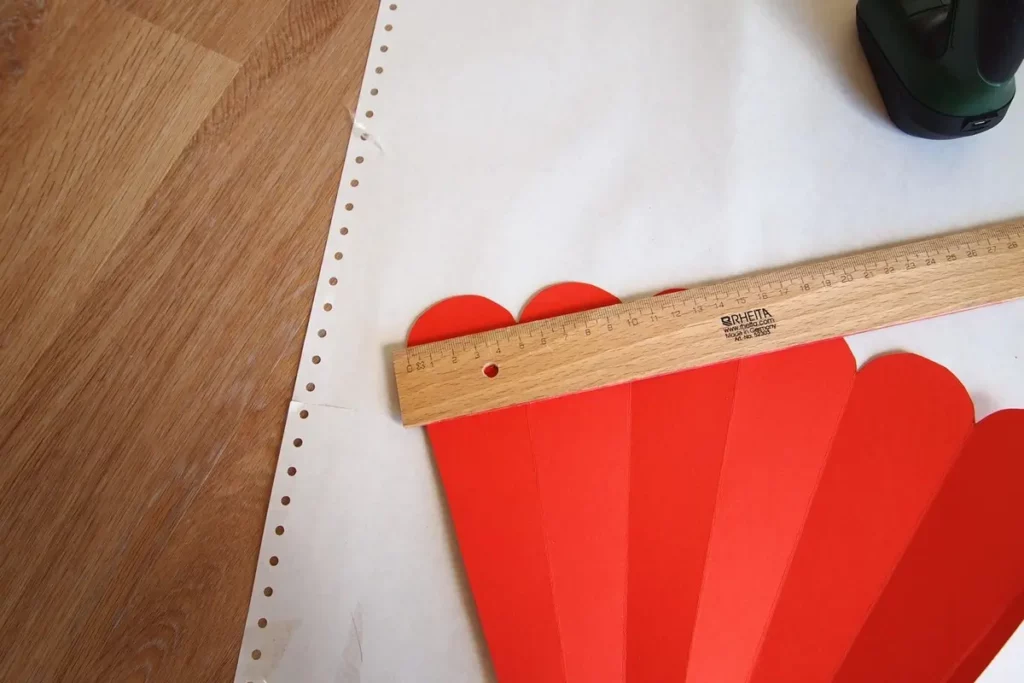
Dimensions of the lower blue part, which I forgot to photograph separately:
side length – 15 cm.
width along the upper edge – 15.5 cm, plus a thin strip (8-10 mm) for gluing.
The sector is divided into six parts (slightly more than 2.5 cm at the top) + a strip for gluing.
We coat the nozzle with glue at the end of the cone and put it on.
Second bottom part and tip
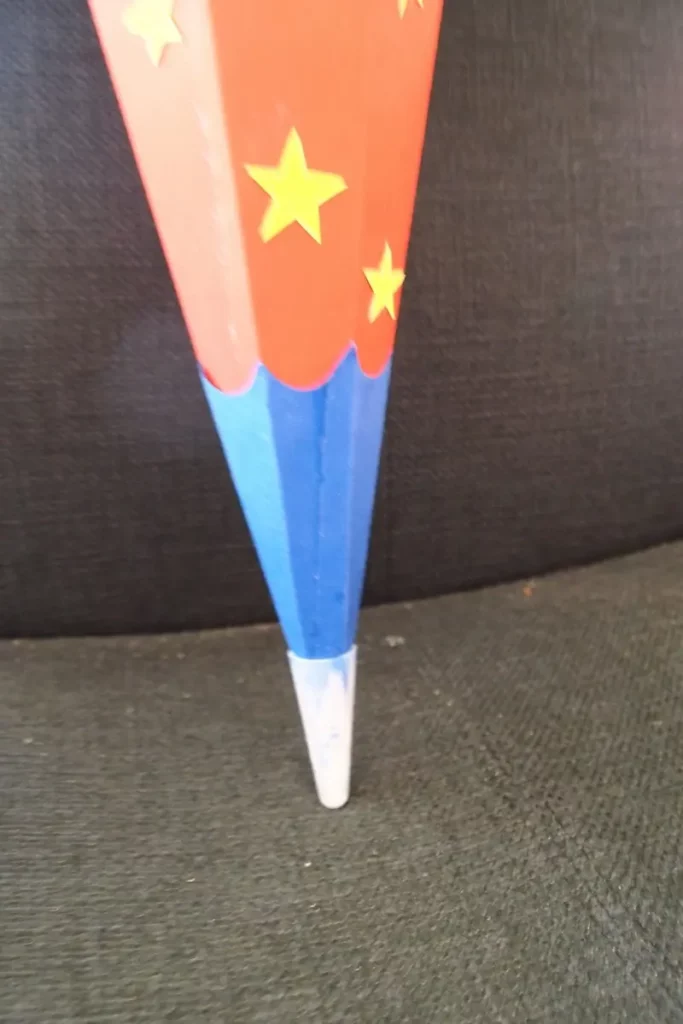
The first five steps took me half a day (including charging and heating the glue gun).
6. I begin to decorate the cone. First, I cut and glued what was in the Bastelset.
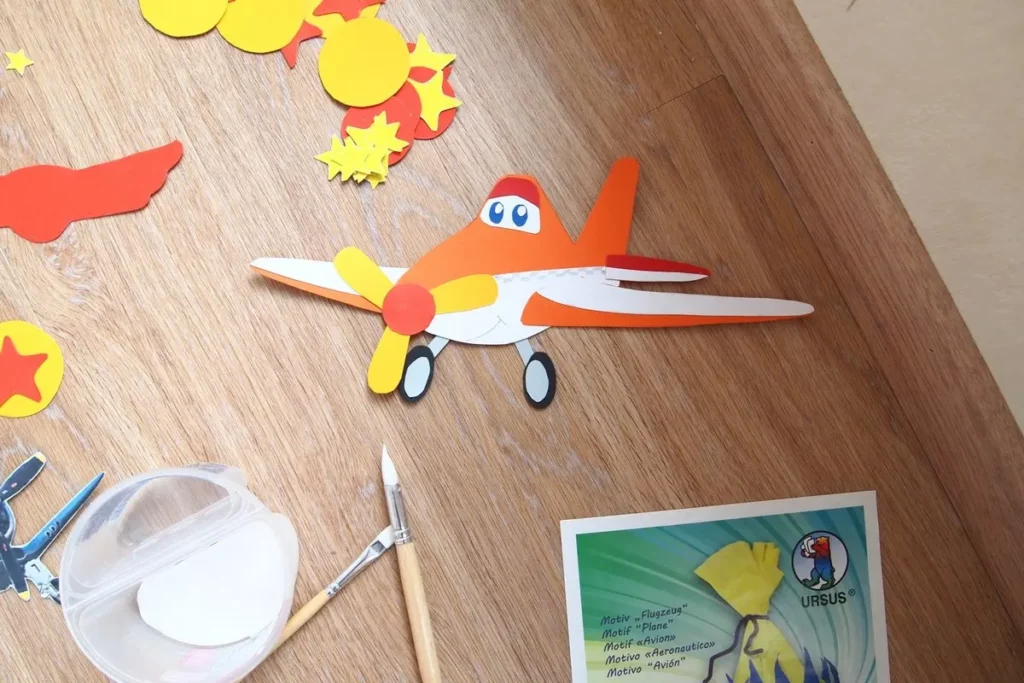
I didn’t like it too much. Therefore, I downloaded from the Internet pictures of planes from the cartoon, which my son indicated to me, printed them on self-adhesive paper, cut them out, stuck them on cardboard, and cut them out again.
I stuck it on a cone in different places with a glue gun, glued some parts with PVA glue. The trick here is to print pictures that are not too large. They cannot be too far beyond the cone, otherwise they will be quickly torn off. Not very smart printing, but at least there will be no analogue of this in the class.
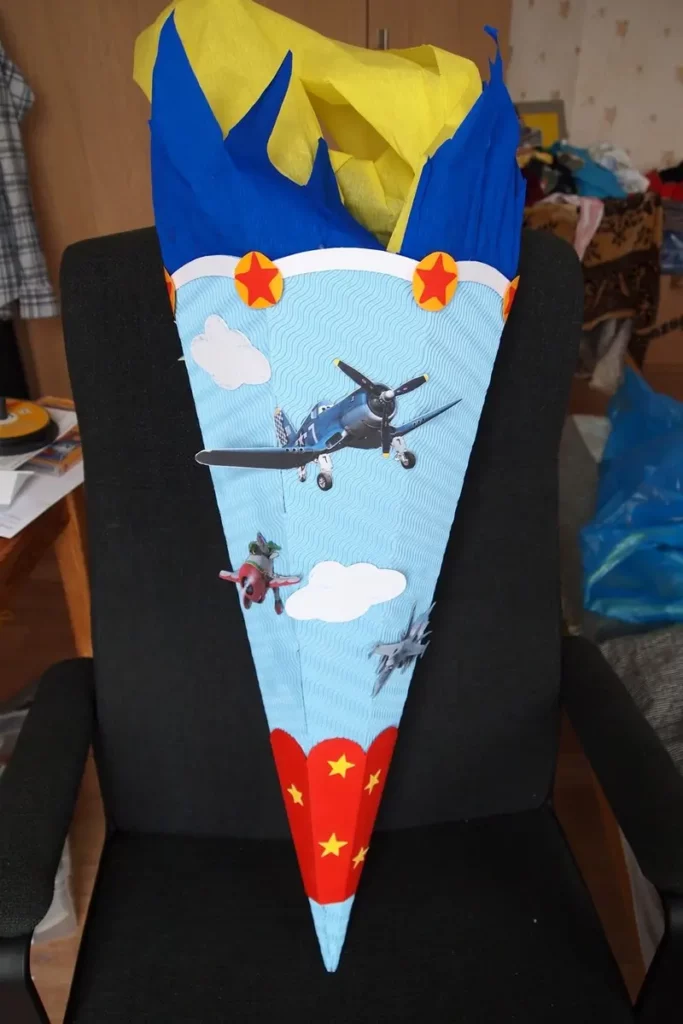
7. Fill it with toys and other stuff listed in the first part.
So I put in a small toy, a small lego, Was ist Was disks, a wallet, a book for friends and kinder chocolate. All together weighs one and a half kilograms.
I laid the gifts on top with the remnants of corrugated paper, tape it here and there up. After gluing the cone, the corrugated paper was not connected in one plac. I carefully glued this place, therefore the Schultüte is not open at at school. It must live up to the house and nothing should fall out into any gaps.
I tied a cone. As I have a boy, I did not invent any ribbons.
first part – German school cone tradition
All posts about Grundschule – #primary school
For example:
Diy Lanterns for Saint Martin feast. 2. Papier-mache, lampion, bags
Primary school. Office supplies and all for school
Bilingual children
German primary school. Deutsch – 1
4th grade. Gymnasium or Realschule?
Do you enjoy the site without cookies and maybe without ads? This means that I work for you at my own expense.
Perhaps you would like to support my work here.
Or Cookie settings change: round sign bottom left

